Subscriber Preview and Test in Email Studio is a rendering of an email as viewed by a recipient. After the initial subscriber preview, consider proceeding through the rest of the recipients to see previews for each subscriber. The preview feature does not display in a particular operating system or email client.
To preview recipients for a data extension, the data extension must meet one of these criteria:
- Contains an email address field type.
- Is linked to the subscriber table via the Subscriber ID.
- Is linked to the subscriber table via the Subscriber Key.
If you are creating an email with several dynamic content areas, you may want to send yourself copies of the email as a test. Follow these steps to do this.
| Watch a Video of this Article |
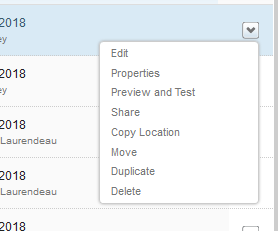
- In Content builder, select the email you would like to test and click Preview and Test from the drop-down at the far right of the row.
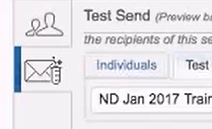
- Click the Test Send tab.

- Under Recipients, click the Test Data Extensions tab.
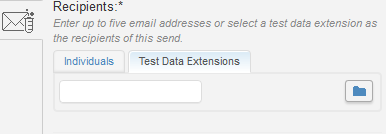
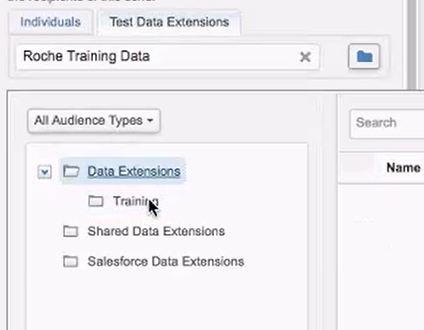
- Click on the folder icon and select the appropriate test Data Extension then click Select.
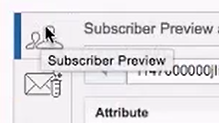
- Click on the Subscriber Preview icon in the pane at left.
- Select the data extension you wish to use, then pick a subscriber from the list to test with and click Select.
- Then toggle back to Test send, buy clicking the Test Send tab on the left.
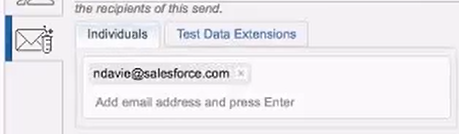
- Click on the Individuals tab and enter your email address.
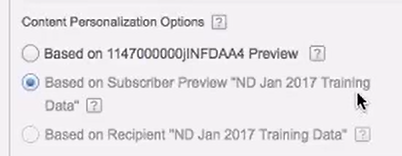
- Under Content Personalization Options select Based on Subscriber Preview.
- Click on the Saved Send Classifications tab to configure the send parameters of your test send as desired.
- Review your Subject Prefix and modify as desired.
- Click the Send Test button from the bottom of this panel to send a test version of the email to yourself for each record on the testable data extension.
- Review the Test Send Summary to view how many messages will be sent.
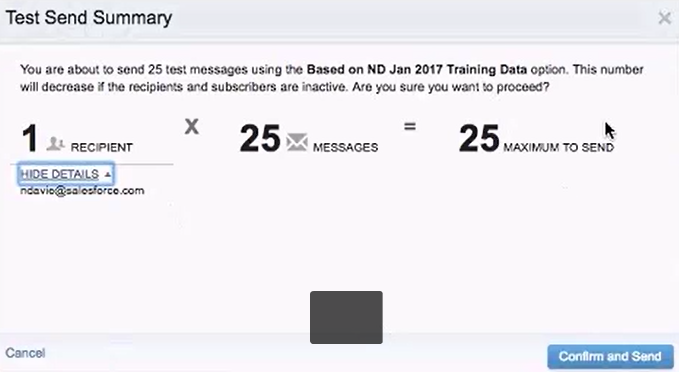
- Click Show Details to view the the recipient for this send.
- Click Confirm and Send.