To add images in Content Builder, use the Image Content block. You can insert these file types: JPEG, PNG, SVG, GIF, and AMPscript. Not all email clients support SVG.
| Watch a Video of this Article |
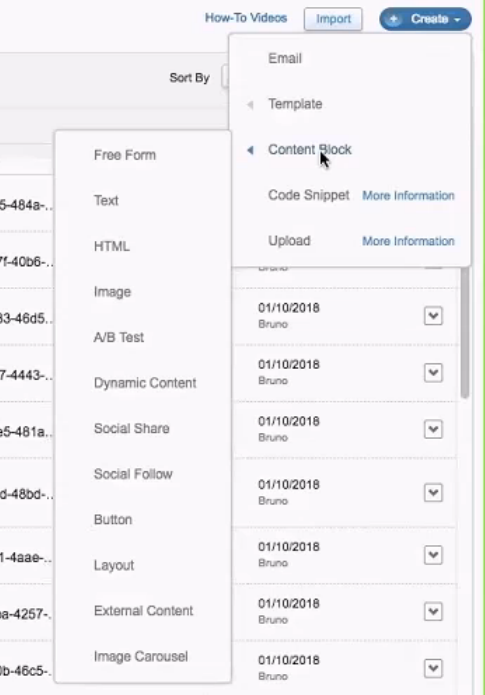
- Click Create in the top right-hand corner.

- From the dropdown menu hover over Content Block.
- Choose Image from the dropdown.
- Under the Content tab, click Browse.
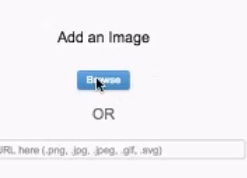
- Click on an image you already uploaded to Content Builder then click Select in the lower right corner.

- Deselect Scale to Fit Checkbox to the left of the image.

- Adjust the Width and Height fields as desired.
- In the Alt Text field, type a description of your image. This will display when images are turned off in the email client.
- Adjust the Image Border color and thickness as desired.
- Click on the Image Padding rectangle and adjust the padding as desired.
- Scroll down to the Image Alignment section and select the desired alignment button.
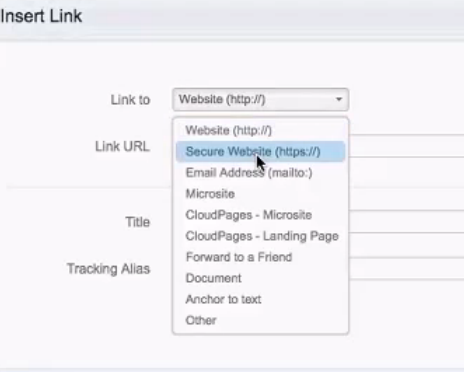
- If you would like to link your image to a website, under Link button then click Add.
- Enter an appropriate web address in the Link URL field.
- In the Link to dropdown, select either HTTP or HTTPS
- In the Title field, type a Call-to-Action that will appear when hovering on image.
- In the Tracking Alias field type a description of the content and link destination then click Save.
- Click on the Block Settings tab at left.

- Adjust the Block Background Color, Border, or Spacing as desired.
- Click the blue Save button in the upper-right corner.

- Name this block
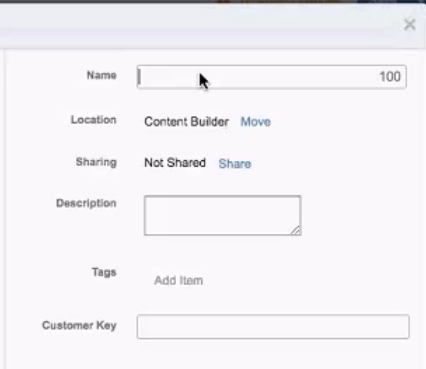
- Under Location, click Move to select your folder then click Save.

*** Outlook does not recognize Scale to Fit.