Logging In to Marketing Cloud
- Open a tab in either the Chrome or Firefox web browser.
- Place your cursor in the URL bar then type exacttarget.com.
- Strike the Enter or Return key.
- Type your Username in the space provided.
- Type your Password in the space provided.
- Click the Login button.
- If prompted to activate your account, click the Send Activation Email button.
- Navigate to your email account to retrieve the Activation Code.
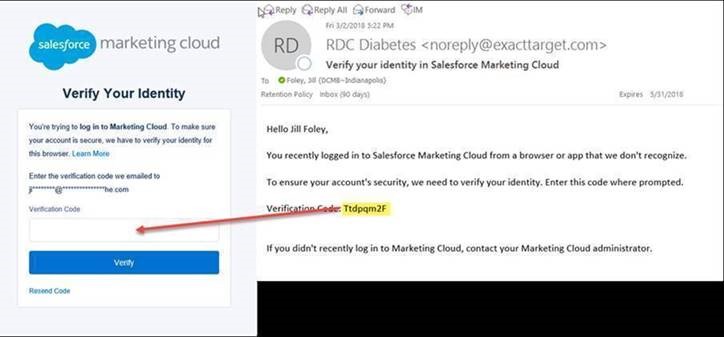
- Type the Activation Code in the space provided.
- Click the Submit button.
Set Password Challenge Questions (First Time Log In Only)
- Click on the first dropdown to view Challenge Question options.
- Click on a question as desired to select it.
- In the First Security Answer space, type the answer to the selected question.
- Repeat steps 2 & 3 for the remaining 2 Challenge Questions.
- Click the Finish button.
Manage User Settings
- In the upper right corner of the screen, hover over Welcome, Your Name.
- From the dropdown that appears, click Cloud Preferences.
- Click Edit in the toolbar.
- Update information as appropriate.
- Click the Save button in the toolbar.
- Click Change Password.
- Type your Old Password in the space provided.
- Type a New Password in the space provided then retype the new password in the Verify New Password field.
- Click the Save button in the toolbar.
- Click Change Security Questions.
- Select new questions from each dropdown.
- Type security answers corresponding to each question.
- Click the Save button in the toolbar.
Manage Cloud Preferences
- Click the Default Login Preference tab.
- Select the radio button for the desired application that will you will log in to by default as of your next Marketing Cloud session.
- Click the blue Save button.
Create an Event on the Marketing Cloud Calendar
- Hover in the upper left corner of the screen over Cloud Preferences.
- Click on the Calendar.
- Hover on the preferred date.
- Click +Add Event.
- Type an appropriate Name for the event in the space provided.
- Type an appropriate Description in the space provided (optional).
- Click No Campaign Associated and select an appropriate Campaign (optional).
- Click the blue multi-day event link, then select From and To dates.
- Click Save.
Navigate to Another Business Unit
- Hover over the current Business Unit Name in the persistent toolbar.
- Click on the appropriate business unit name. If no additional business units appear, this means you only have permission to one business unit.
Caution: Save all work before navigating to a new business unit.
Note1: A user may only be logged in to a single business unit per browser at a time.
Note2: The majority of Roche users will only have access to one business unit.