We use data directly from CRM when sending emails in Salesforce Marketing Cloud. This document explains how to send an email using a Salesforce report as your target audience in Marketing Cloud.
- Create your report in CRM for person accounts, per the normal process. Be sure your report includes the following filters:
Person Accounts (Patient) Contact Accounts (Professionals) Marketing Email Opt-in equals "Yes" Marketing Email Opt-in equals "Yes" Email not equal to "" (don't type anything in the field) Main Country equals (select your country from the pick-list) Main Country equals (select your country) Email not equal to "" (don't type anything in the field) Contact: Is Person Account equals "True" Contact Record Type equals "Standard Contact" (required to ensure professional records only)
The report must contain the Contact ID as one of the columns. Please be sure the ID begins with 003 and has 15 digits. Also include required columns Email and Marketing Email Opt-in.
You are encouraged to include additional filters to segment your report to only the most applicable, targeted records for best engagement results. The filters above are the minimum filters required for sending. - After creating your report in CRM, go to Marketing Cloud. Open Content Builder and navigate to your email. Click the down pointing arrow
 on the far right and select Send.
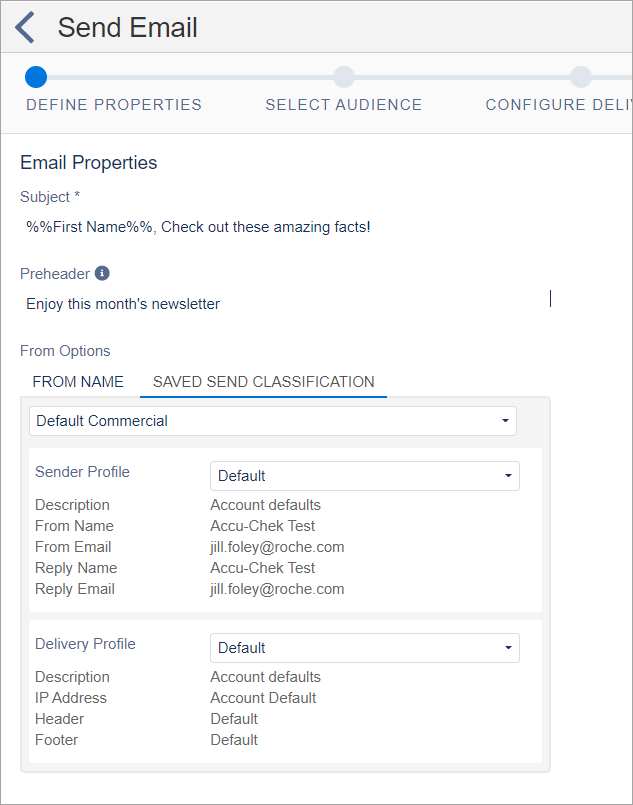
- On the Define Properties screen, review your Subject and Preheader. In the From Options, review the Saved Send Classification tab and select the appropriate Sender Profile and Delivery Profile (if you use one different from the Default).
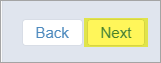
- Click Next in the upper right corner.
- Under the Select Audience window, click the Salesforce Reports folder.
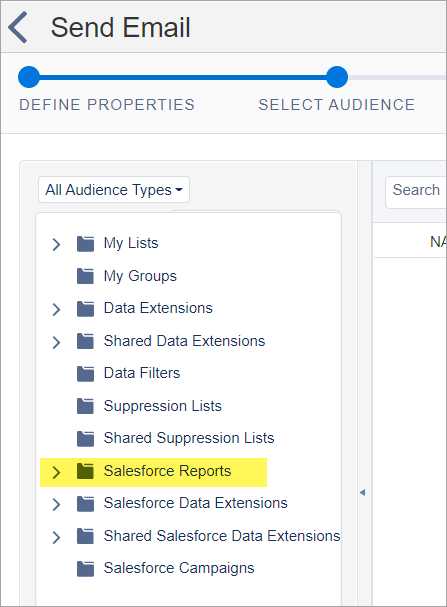
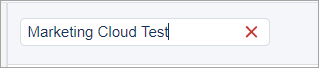
- In the Search field, enter the name of the report you created in CRM to locate it.
- In the Sendable column, be sure it says Yes.
If your report has a "No" in the Sendable column, you are likely missing the correct Contact ID field. If that is the case, go back to CRM, add the Contact ID that begins with a 003# and has 15 digits, then resave your report. (Note: the Sendable Yes/No column can take some time to populate, so if that column is blank, wait a moment.)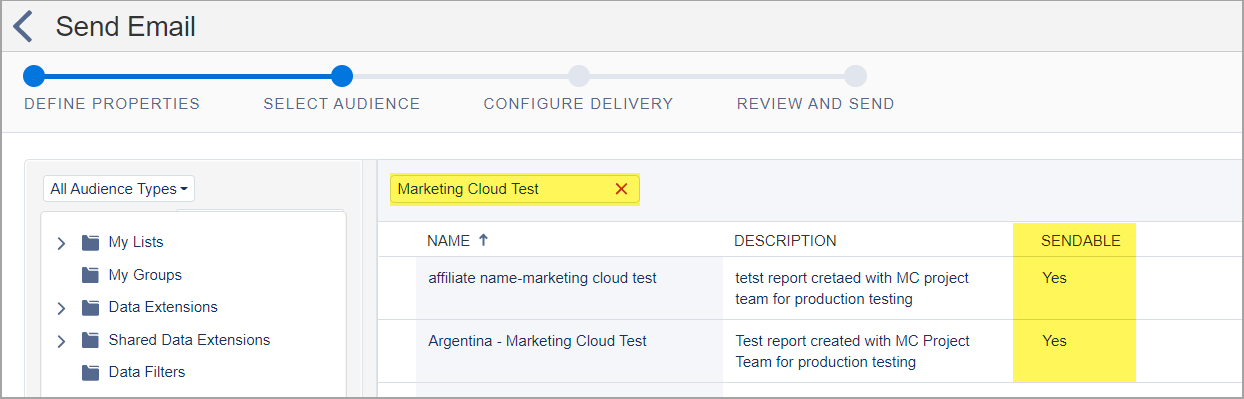
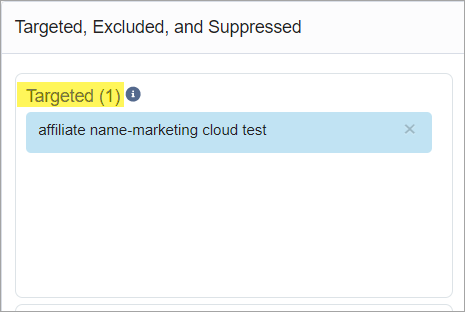
- Drag and drop the report to the Targeted field at right.
- Click Next.

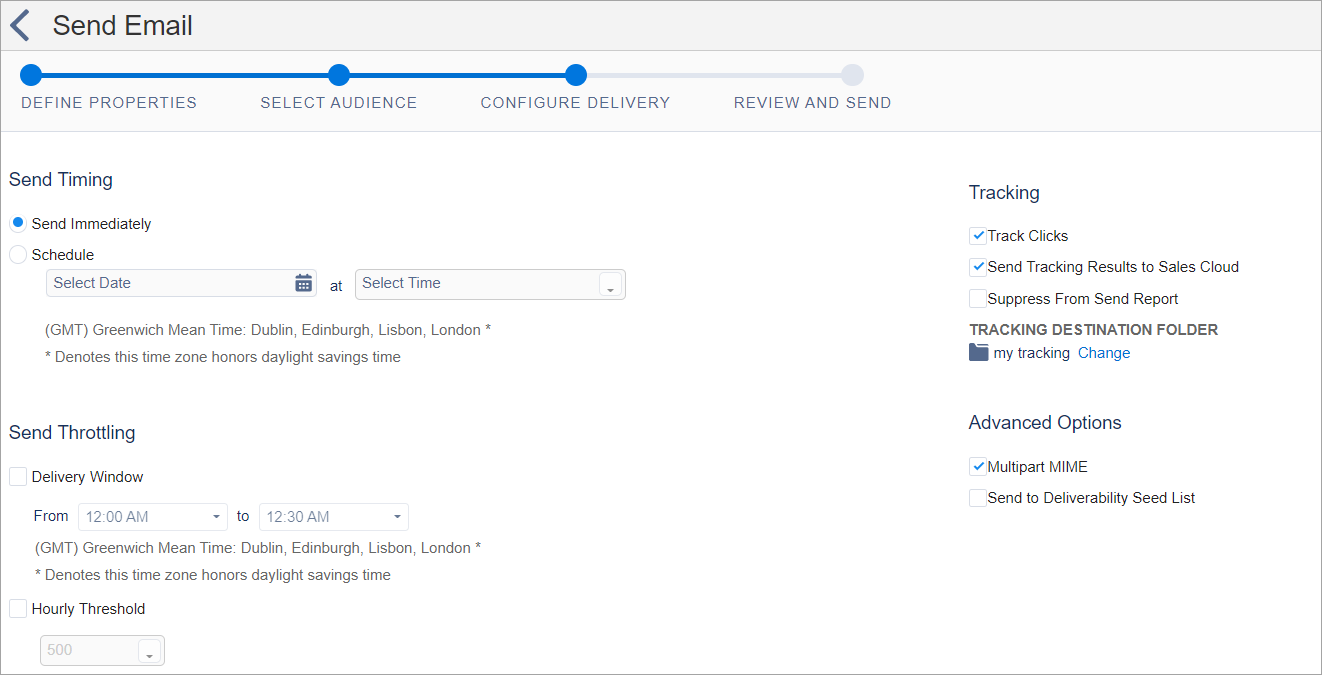
- In the Configure Delivery screen, schedule the send as desired. Check the boxes to Track Clicks, Send Tracking Results to Sales Cloud and Multipart MIME.
- Click Next.
- On the Reveiw and Send Screen, review the Audience information in the left pane of the screen. Review the email in right pane to ensure eveything displays correctly on the desktop & mobile views, and the From sending information is correct. When you are certain everything is correct, check the box to verify "This information is correct and this email is ready to send."
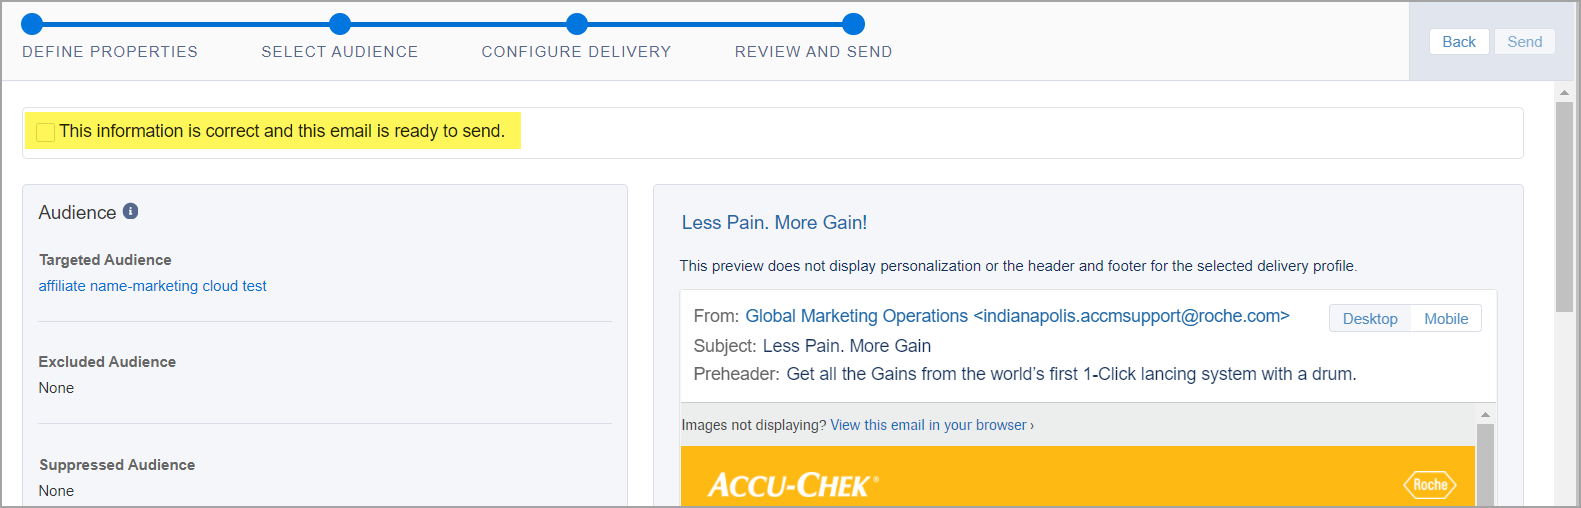
- After checking the box
 , the blue send button in the upper right will become active. Click Send (if you are scheduling your email to go out at a later time, the blue button will say Schedule.)
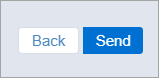
- A green confirmation message will appear on the top of the screen.
