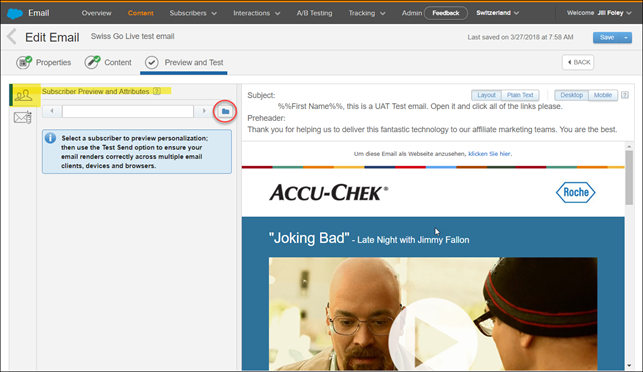
Complete all content edits in your email and select Next to enter the Preview and Test screen.
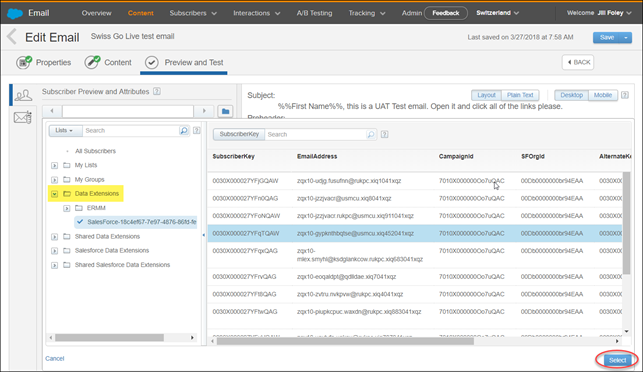
- With the Subscriber Preview and Attributes tab highlighted (people icon), select the folder image.
- Select a list within one of the Salesforce Data Extension folders.
- Choose one of the tokenized Contact IDs and click the Select button at the bottom right. This will be the subscriber that your Preview is based on. (Note: you must select a subscriber in the SFMC 2.0 encrypted environment, otherwise your email will error and you will not be able to send the test.)
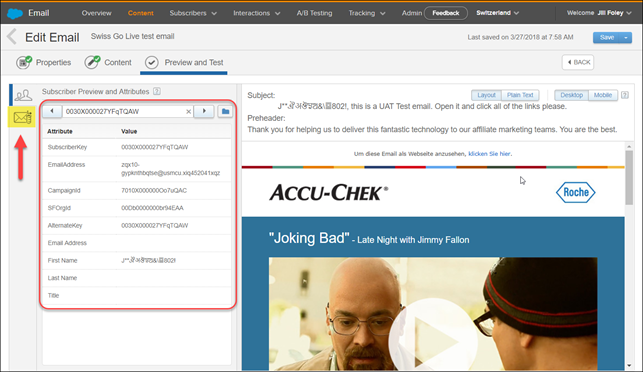
When you return to the Subscriber Preview and Attributes screen, you will now see that your subscriber details are filled in based on the subscriber you just selected. - Click on the Test Send tab (the envelope icon).
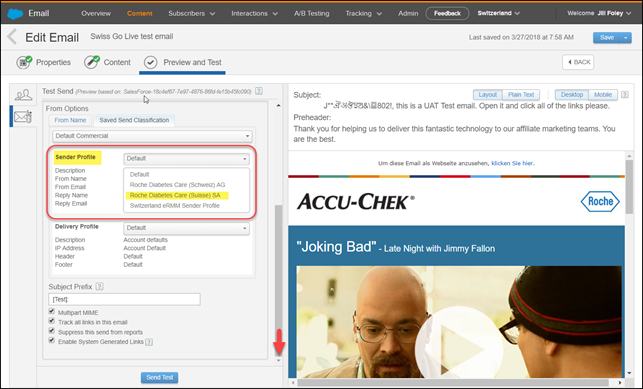
- Manually type up to five email addresses to receive the test send, pressing enter after each one. If applicable for your email, select the appropriate Test Data Extension under the Recipients section (only applicable if your email contains variable content that is populated by a data extension).

- Scroll to see the Sender Profile box. Select the proper From Name for this email. In this example, Roche Diabetes Care (Suisse) SA was selected so that the email would include the French version.
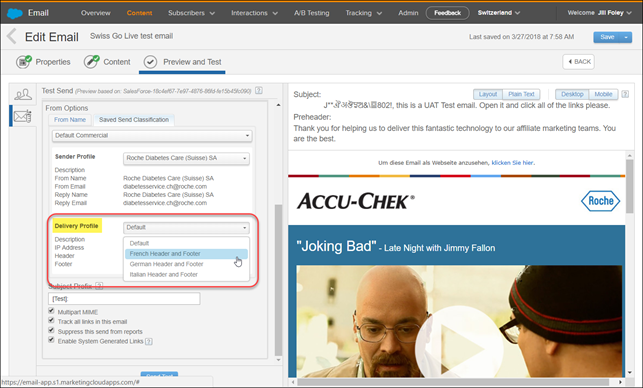
- Next, go to the Delivery Profile section and select the proper header/footer for this email.
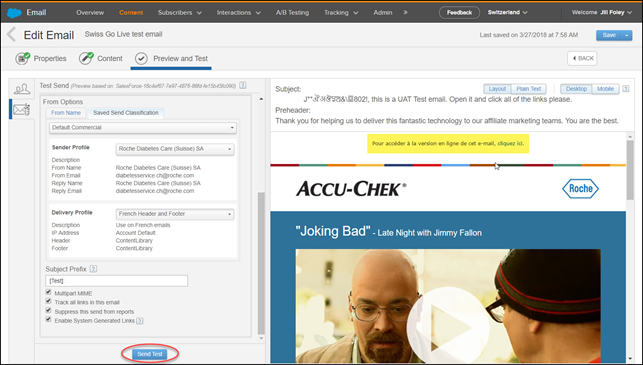
- The header and footer in the Preview pane will change based on the Delivery Profile selected. Confirm all your settings and click Send.
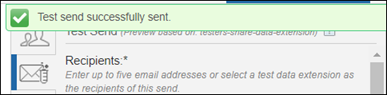
- Click Confirm and Send on your Test Send Summary screen.
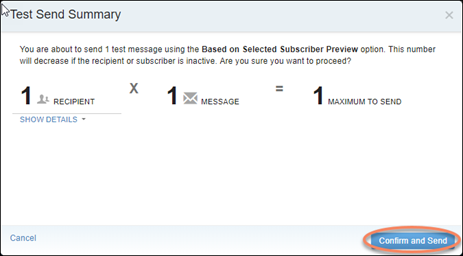
- You will receive a green confirmation message when the test send has successfully sent.