Please use the following procedure to complete your test send.
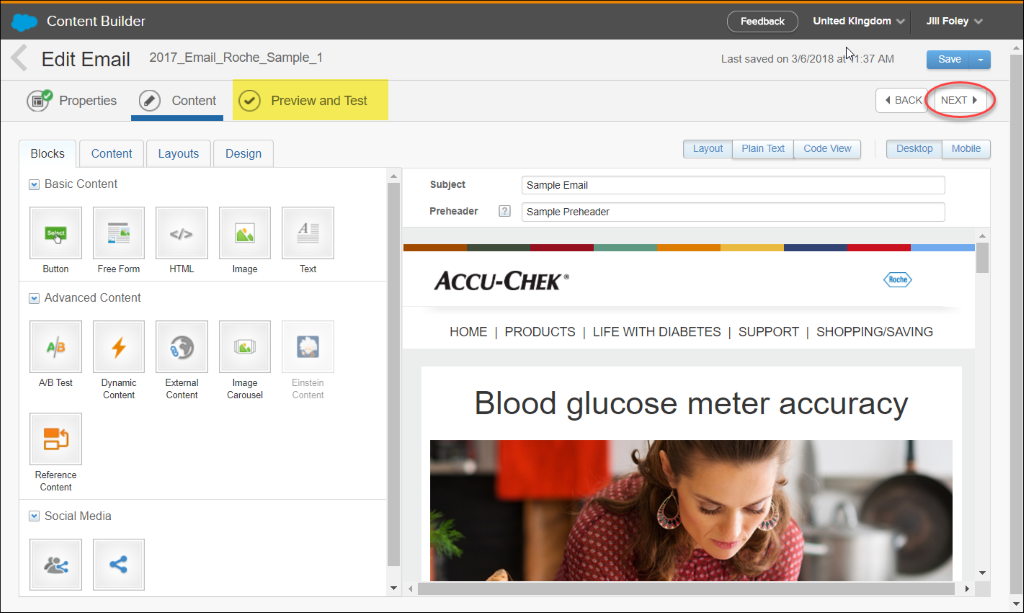
1. Complete all content edits in your email and select Next to enter the Preview and Test screen.
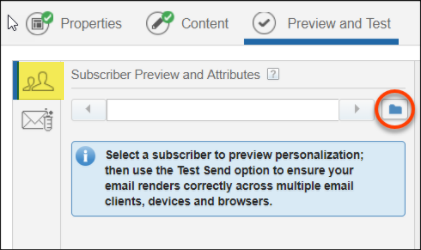
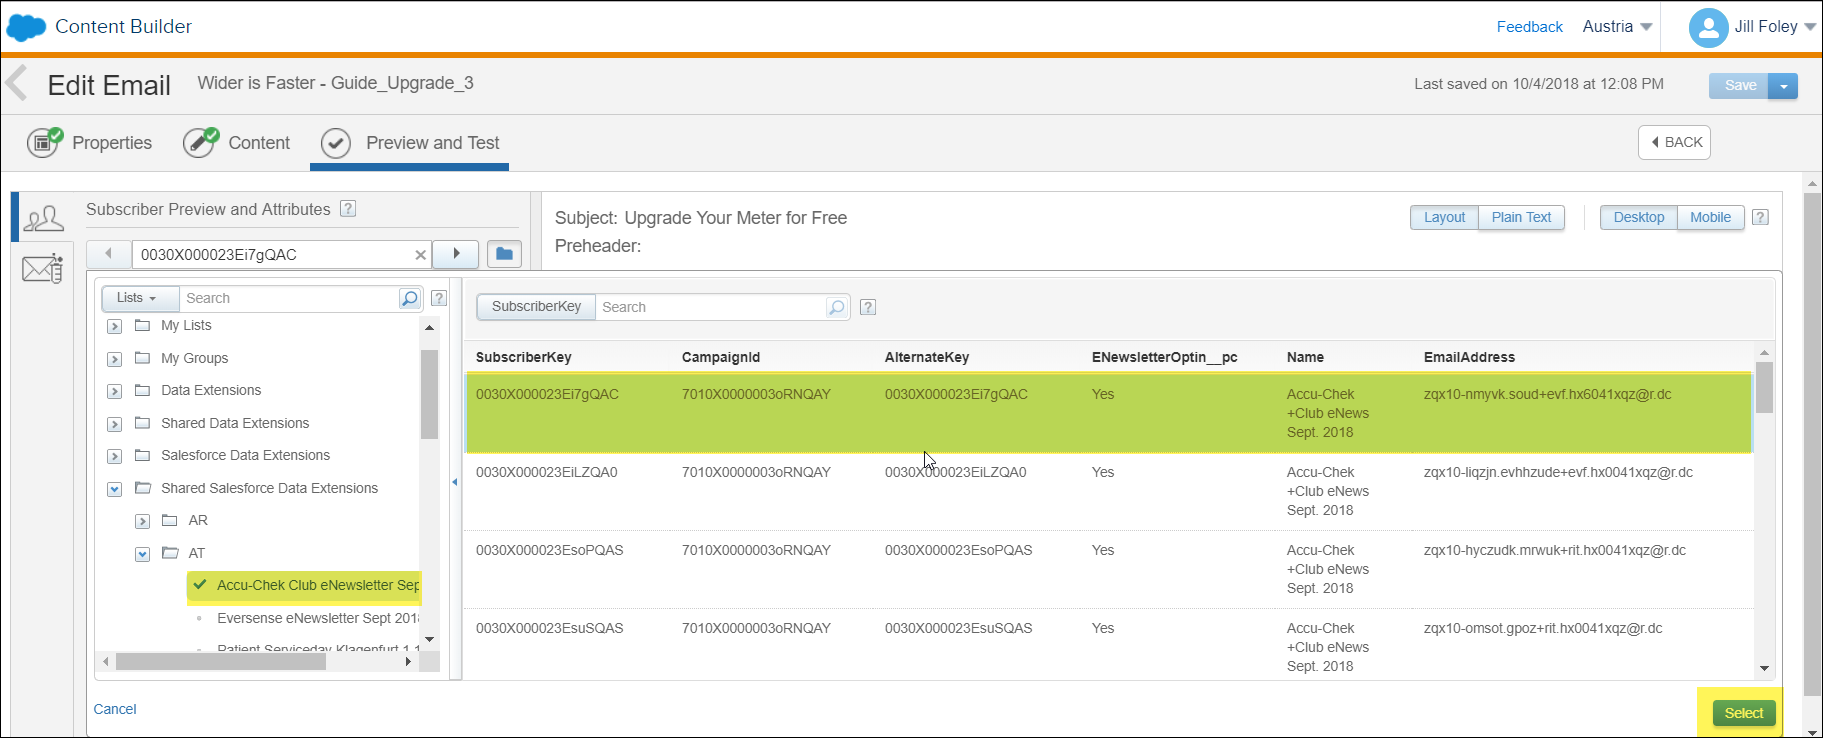
2. With the Subscriber Preview and Attributes tab highlighted (people icon), select the folder image.
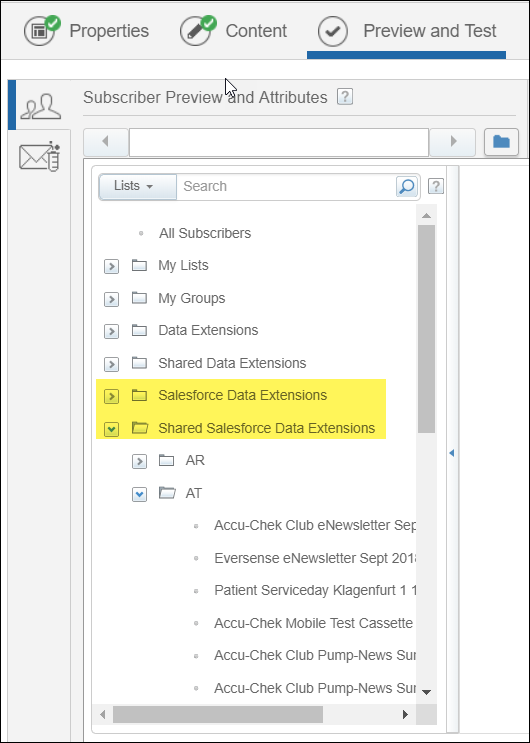
3. Select a Salesforce Data Extension folder that contains a data extension with either test records or actual subscribers.
4. Choose any record — it can be a test record or an actual subscriber, but they must be opted in. Click the Select button at the bottom right.
(Note: you may select any subscriber. The subscriber will not receive the test email. Instead you will receive a test email based on that subscriber's profile. This step is extremely important. If you do not select a subscriber, you will not receive the test email because the system needs a Contact ID in order to complete the send.)
5. You will return to the Subscriber Preview and Attributes screen. Now that you have selected a subscriber to base the preview and send on, click on the Test Send tab (the envelope icon).
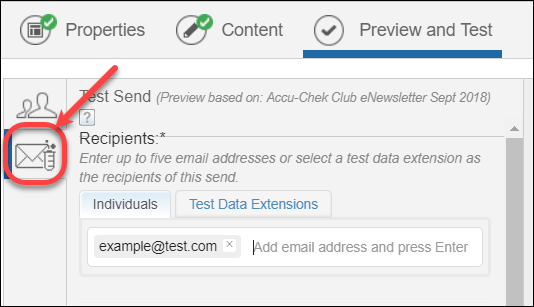
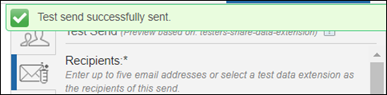
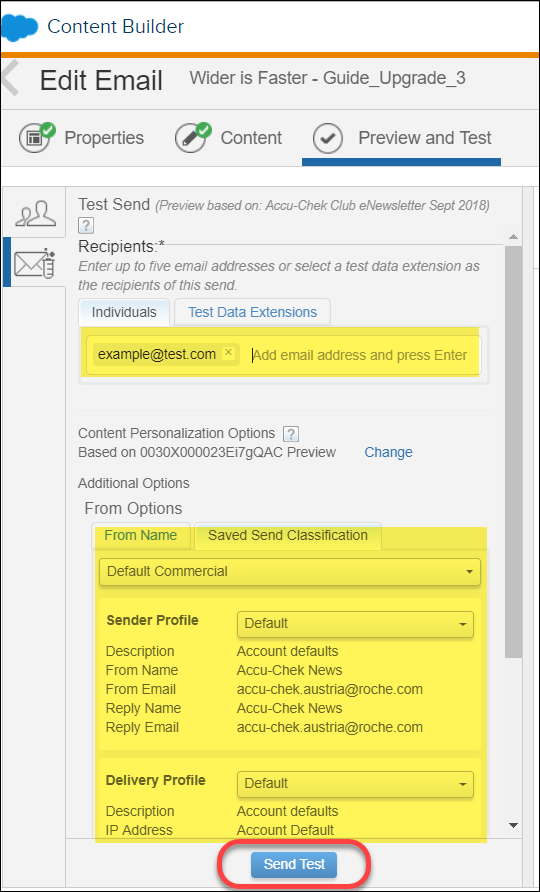
6. Manually type up to five email addresses to receive the test send, pressing enter after each one. Alternately, you can select a Test Data Extension as the recipients for the test send (everyone on the DE will receive a copy of the email).
7. Make any additional selections in the From Options section, including Sender Profile and Delivery profile.
8. Click the Send Test Button.
9. Click Confirm and Send on your Test Send Summary screen.
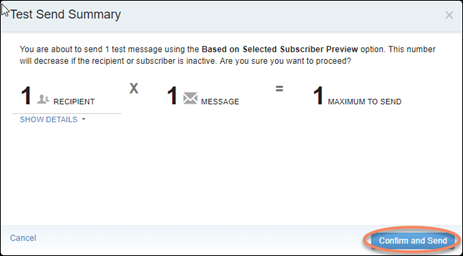
10. You will receive a green confirmation message when the test send has successfully sent.