Configuration/Setup
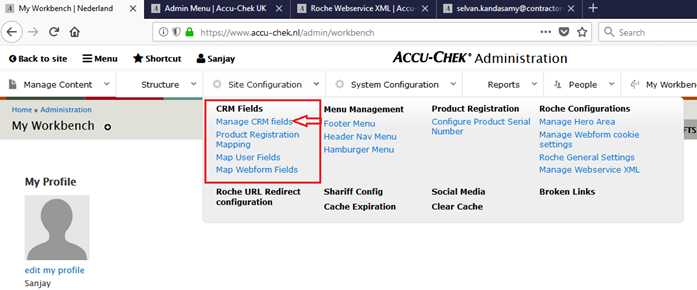
1. Log in to the site and select the CRM Fields menu under the Site Configuration menu.
!NOTE: If any configuration menus are missing from your site, please submit a support request and we will ensure you get access to this feature.
The Manage CRM Fields menu allows you to create, edit and delete CRM fields with CRM keys and labels. These CRM fields will display on the WCMS Webform fields mapping page.
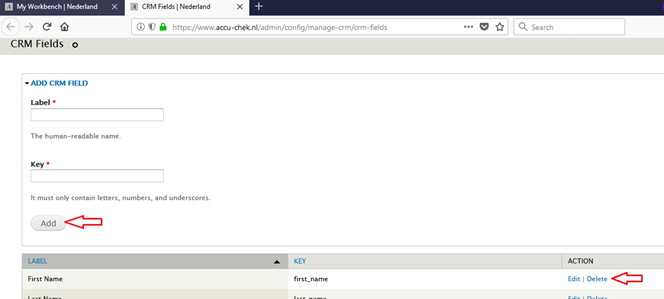
2. Create a label and key pair. You will then select this under Map Webform Fields.
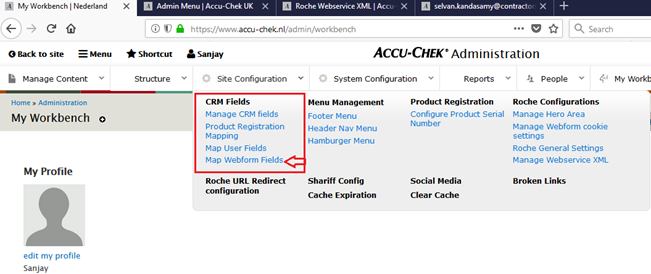
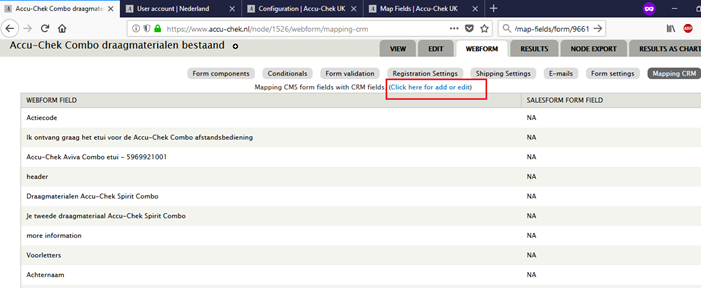
After adding the CRM fields, Click on the Map Webform Fields menu for mapping WCMS Webform fields with CRM key to export data in XML file.
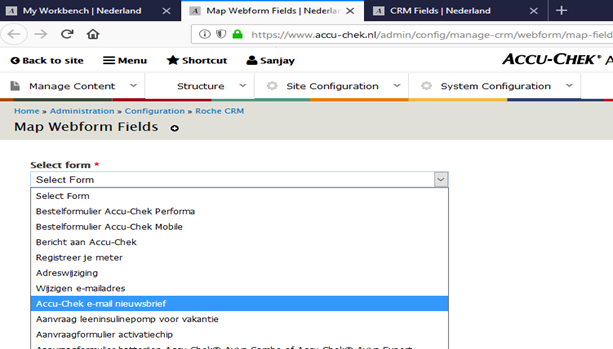
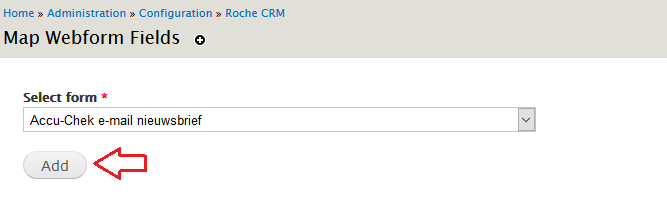
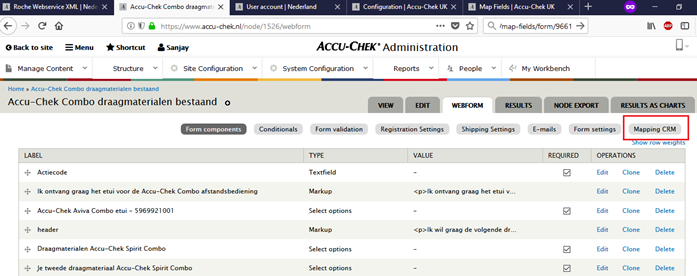
3. Next, select the Webform you want to configure CRM fields for and click Add.
4. Now you can map the fields. Enter the Salesforce OID (which you get from Salesforce).
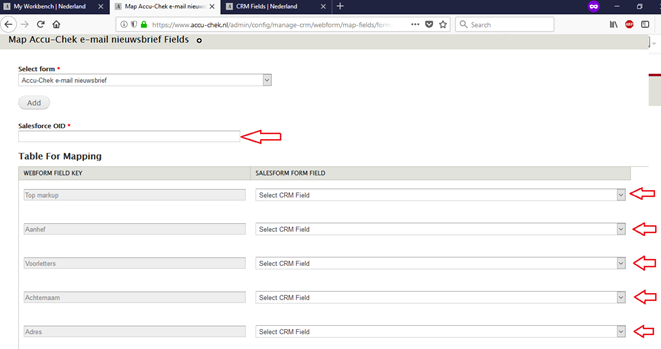
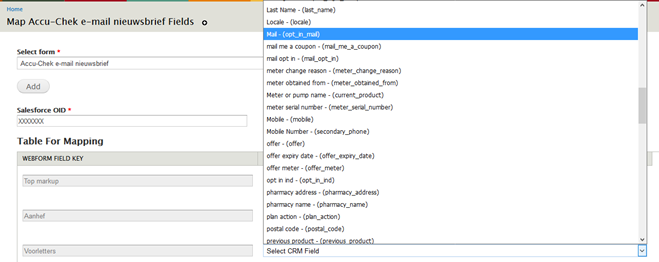
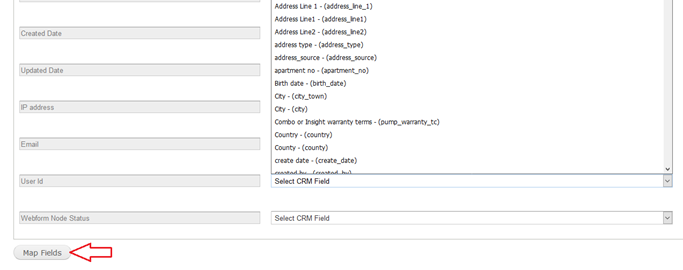
Select the Webform field you want to map, and then select the CRM field you defined earlier.
When all desired fields are mapped, press Map Fields to save the information.
!NOTE: In the exported XML file, it will only have those fields which have been mapped here. If only 5 fields are mapped then the XML export will only have only 5 fields present.
!NOTE: You can also map CRM fields (that are already defined under Manage CRM fields) on the actual webform. This can be a quicker way if you have already set up the CRM fields in advance.
Export
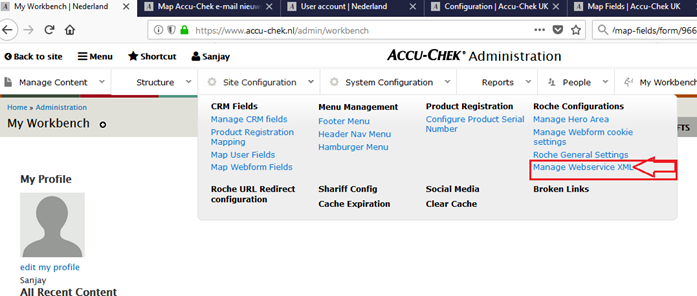
Once the fields are mapped, you can download the XML data to be imported into Salesforce. Click on Manage Webservice XML menu under Site Configuration menu.
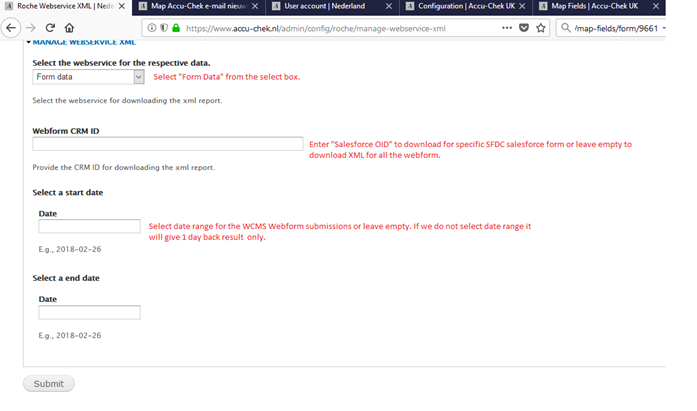
Select Form data for the first field. Enter the Salesforce OID if you want to export just the data for that specific webform. If not, leaving this field blank will download data for all mapped Salesforce forms.
Lastly, you can specify a date range.
Click Submit and you will be able to download the generated XML file.