Quick Links Explainer
A Quick Link is a type of content that is published to a channel, similar to a regular story; however, a Quick Link differs in that it acts as a direct point of access for one of the following:
- A link to a website or webpage in case its one you need to access often or on a daily basis.
- A file such as a document so you can instantly open the desired file.
- A form that is present in the Hub.
Creating Quick Links
To create a Quick Link
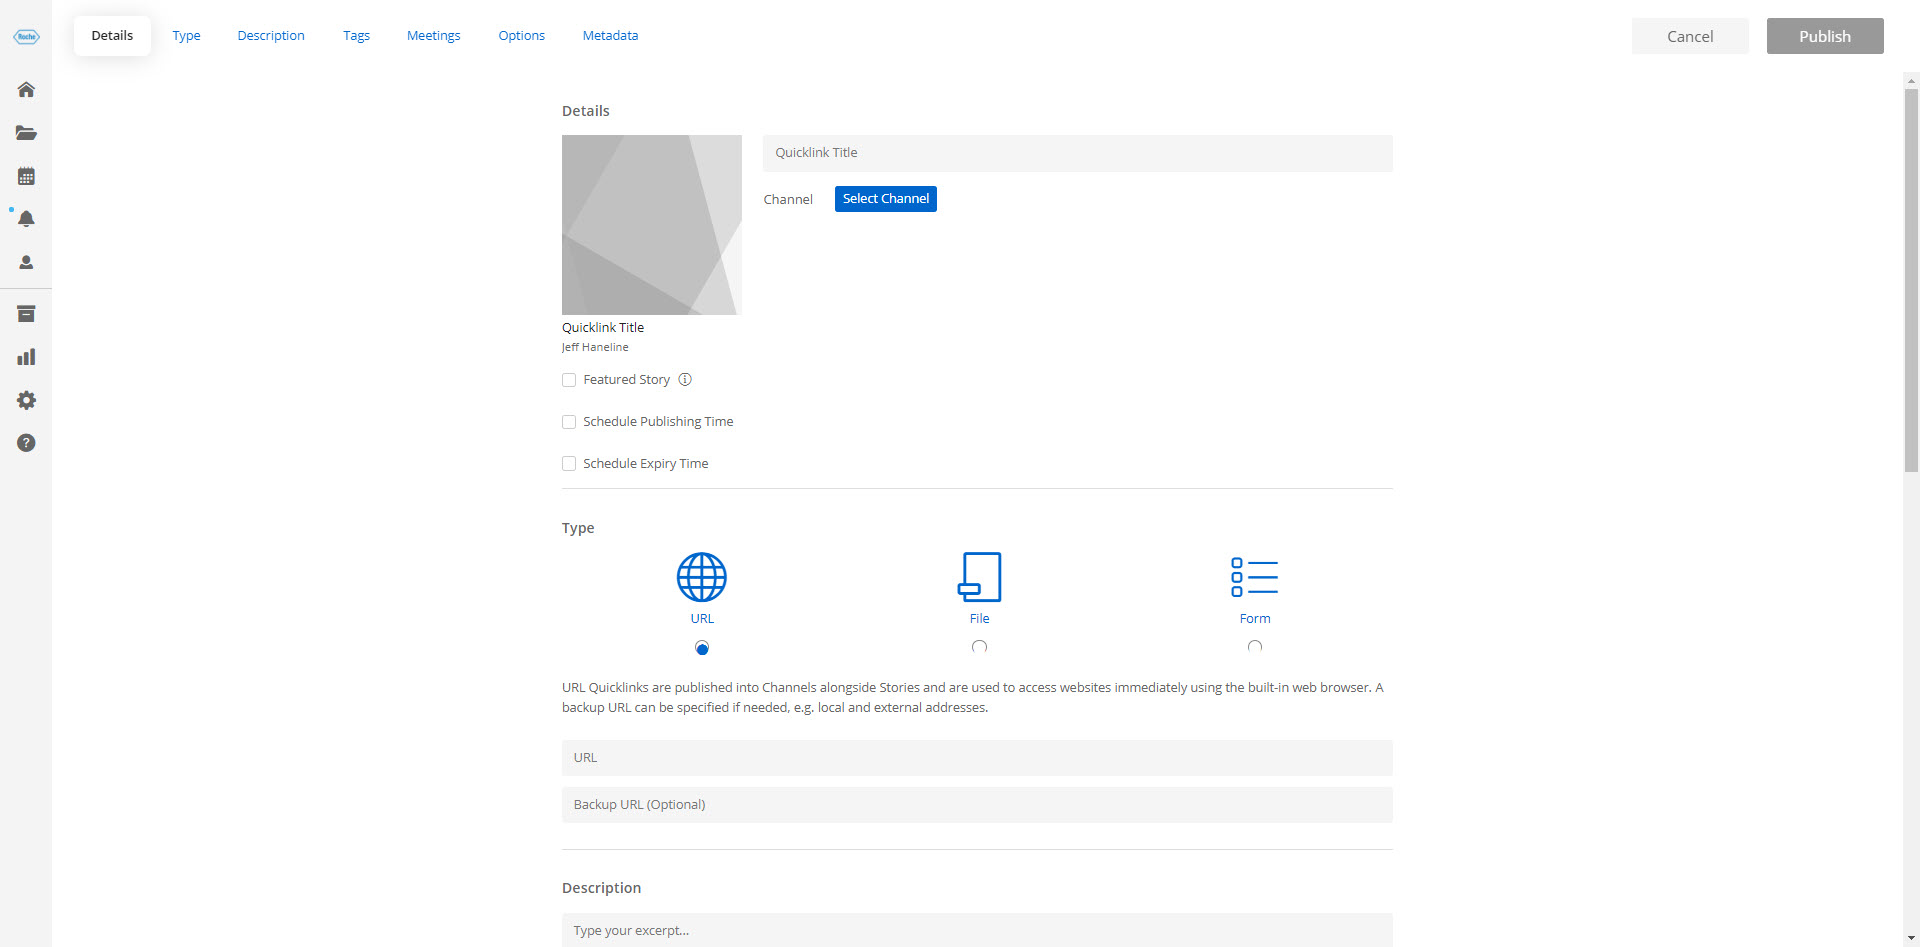
1. Navigate to Create > Quicklink. The Create Quick Link page opens up.
2. Enter the name of the Quick Link Story, and optionally upload a featured image that acts as a thumbnail.
3. Select the channel in which you want to publish the Quick Link.
4. See the table below for more information on the various options available on the Quick Link page creation.
Option |
Description |
| Featured Story, Publish and Expiry Time |
Featured story: Select the checkbox to promote the Quickink on the Hub's homepage. If promoted, a user must decide the time interval by which the Quicklink is featured. You can also select a custom image for the featured story. Schedule publishing time: Select the checkbox to set a time and date to publish the story. Select the time and timezone. Schedule expiry time: Select the checkbox to set a time and date for the story to expire. The story and content will be removed from the devices after the scheduled time. Select the time and timezone.
|
| Type |
URL: Select this for quick access to websites. The URL opens up in our built-in browser. A backup URL can be specified if required. File: Select this for quick access to documents. The documents open up in our tabbed file viewer. Either select files that are present in the Hub, or that are present on your computer. Form: Select this for quick access to forms. The form opens up in our tabbed file viewer. Select the required form from the published forms listed in their categories.
|
| Description |
Enter a brief description for the quick link story.
|
|
Tags |
Enter the tags that you think may be relevant to the story.
|
| Meetings |
Add meeting information that is linked to the story. In the Add Meeting dialog, enter the meeting name, select the timezone, start and end times of the meeting.
|
| Options |
Sharing: Select this checkbox to allow users to share the story. Limit the number of downloads per attachment by specifying it in the text box provided. Specify the number of days for which the attachment is available for download. After the specified number of days, the attachment expires and users will not be able to download it. Allow users to share stories via any native sharing methods available on their device. This can include email, social media, and more. Note that this does not provide usage statistics or an audit trail. Password protected: Select this checkbox if users have to enter their account password to view your story. Allow annotations on files: Allows users to annotate on files that are attached to the story. Restrict location: This allows you to set the location in which users can access the story. Users outside the specified location will not be able to access the story.
|
| Metadata |
Add a metadata keyword. Select the field Property and enter the relevant keyword in the Value field.
|