This is the simplest way to filter a data extension.
In entry sources, decision split activities, and other Journey Builder components, marketers can create a filter to admit contacts based on attribute values. Filters consist of an expression, or an attribute, an operator like equals or begins with, and a default or restricted value you choose. The filter feature allows you to filter in a series of automations without needing to know SQL. Filter activities in Automation Studio use data filters in Email Studio.
- Hover over Email Studio and select Email.
- Hover over Subscribers and select Data Filters.
- Select

- Select Data Extension.
- Select OK.
- Navigate to and select the data extension you would like to filter.
- Select OK.
- Navigate to the attribute you would you like to use to filter. Note: The attributes are related in attribute groups based on how you linked them in Data Designer. More information on attribute groups is available here.
- Drag the attribute of your choice into the center. Ex. DOB
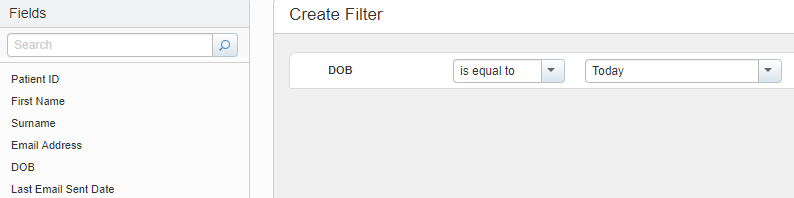
- Edit the filter criteria:

- Expression – The first component of the filter is the expression. In this case, the expression is the attribute selected. Journey Builder will search a contact’s information for this specific expression. EX. DOB
- Operator – The operator defines the relationship between the expression and restricted value. It is the criteria used to determine if contacts will be included in a Journey. Ex. Is equal to, Is null
- Restricted Value – The restricted value is optional depending on the operator used. It determines the specific value the attribute must adhere to. Ex. Today, True
- Continue to add attributes by dragging them to the center panel.
- Once you have two or more filter criteria, group filter statements can be used.
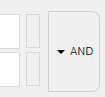
- AND – The contact will be included if both statements hold true.
- OR - The contact will be included if at least one of the statements holds true.
- Select Save.
- Now you are ready to create a filter activity. Hover over Journey Builder and select Automation Studio.
- Select Activities.
- Select
- Select Filter from the Activity Types.
- Select Next.
- Provide properties for you filter:
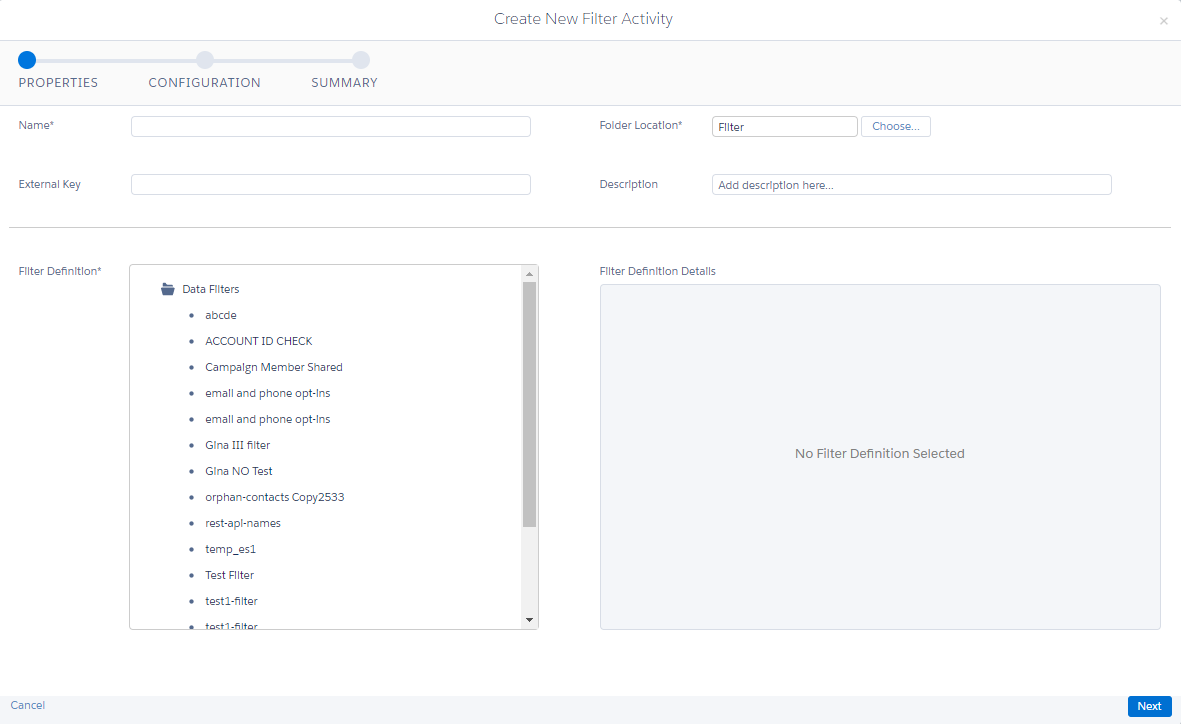
- Name – The name used to identify the filer activity in Journey Automation Studio.
- External Key - A unique value that identifies the data extension, optional.
- Location - Select Change Location to store the data extension in a different folder location, optional.
- Description - A description of the data extension, optional. Use this description to further help identify the data extension within Journey Builder.
- Filter Definition – Previously created filter to apply. If your data filter is applied to profile attributes, select a source list created in Email Studio and name the group that is created when this filter activity runs and choose a group folder to store it. Note: If your filter is applied to a data extension, selecting a source list is unnecessary.
- Select Next.
- Provide information for resulting data extension:
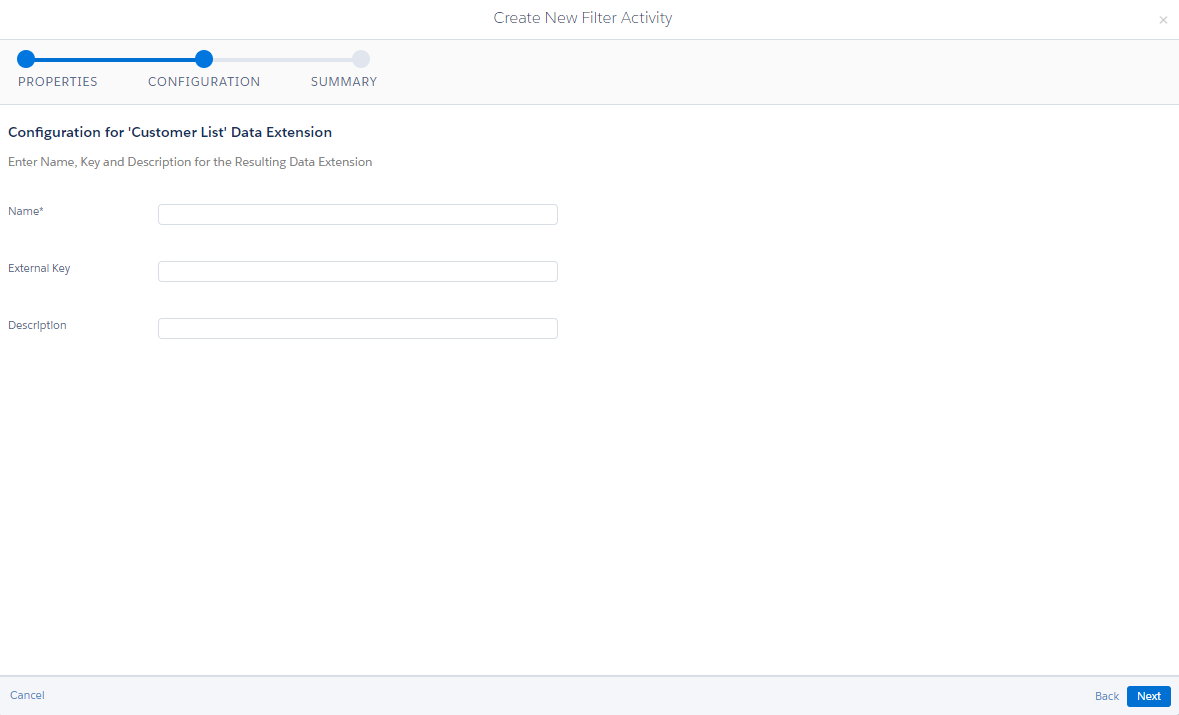
- Select Next.
- Select Finish.
- Select Overview

- Now you are ready to schedule your filter. Select New Automation.
- Give your Automation a name.
- Select Done.
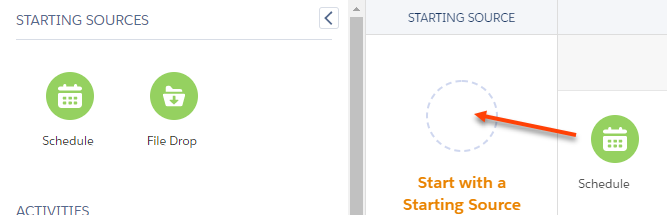
- Select

- Drag and drop the Schedule icon to the canvas.
- Select Configure.
- Define Schedule:
- Start Date and Time – Time when Automation Builder begins filtering contacts.
- Repeat – Frequency of when contacts can be evaluated (how often the automation runs). Ex. If set to Weekdays, the automation will run once every weekday.
- Start Date and Time – Time when Automation Builder begins filtering contacts.
- End – Number of cycles the schedule will last for. If set to a specific number of occurrences or a specified date, it will not filter any contacts after the number of occurrences occurs or that specified date is reached. Note: This is a common error in journeys. A best practice is to set End to Never.
- Select Done.
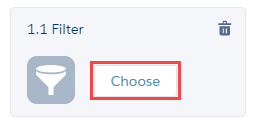
- Drag the filter icon to the canvas.
- Select Choose.
- Navigate to and select the filter you created.
- Select Done.
- Select Save.
Congratulations! You have successfully created a filtered data extension using Automation Studio.