|
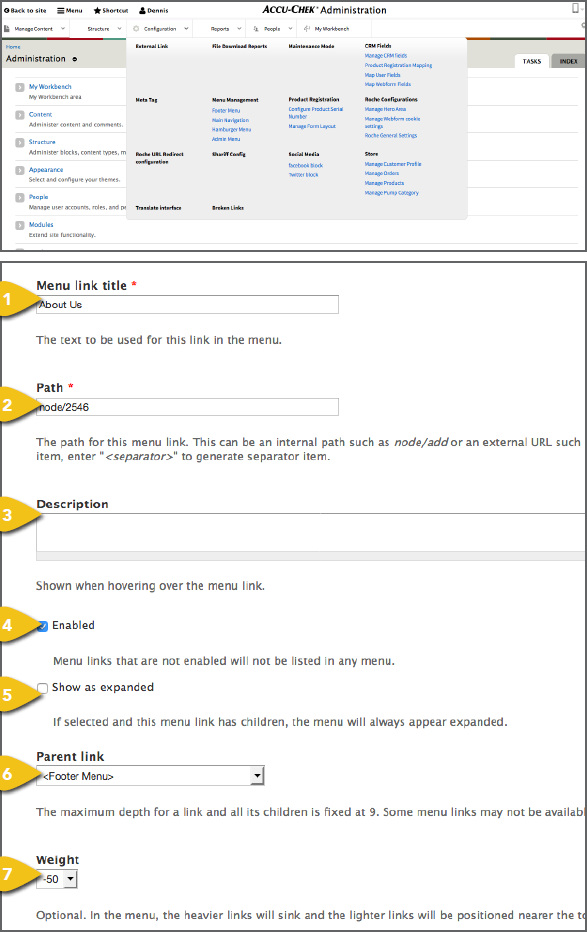
To add items to the global footer, select Footer Menu under Menu Management on the Configuration tab. Select Add Link to add a new navigation item, or you can change the placement of items as outlined below. 1. Menu Link Title: Enter the text that should 2. Path: Enter an external URL or identify the internal node for the page the link will drive to. 3. Description: This brief phrase will appear 4. Enabled: Check this box when the link 5. Show As Expanded: If the menu item has other items beneath it, checking this box will ensure that it is always shown as expanded. 6. Parent Link: Select Footer Menu. 7. Weight: The smaller the number, the |
|
|
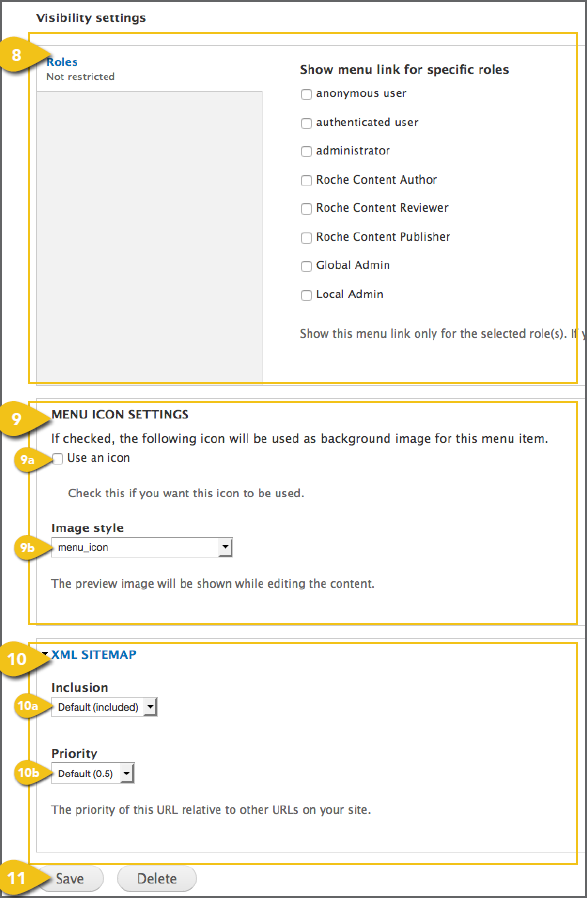
8. Visibility Settings: It is recommended not to check any of these boxes, so the link will be seen by all users. 9. Menu Icon Settings a. Use an Icon: Check this box if you want to include an icon. b. Image Style: Select Menu Icons Default for icons to appear in the footer menu. c. Path to the Icon: If you would like to d. Upload a New Icon Image: Click the Browse or Choose File button. Browse to the file, select it and click Open. 10. XML Sitemap a. Inclusion: The Default (included) setting will add the footer item to the sitemap. b. Priority: If you include the item in 11. Save: Save your settings here. If the link |
 |
|
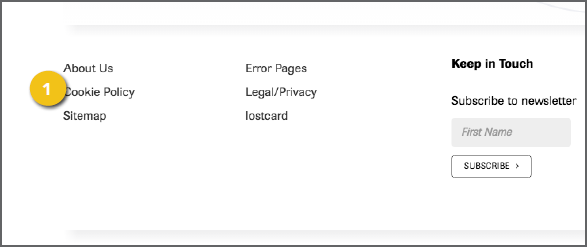
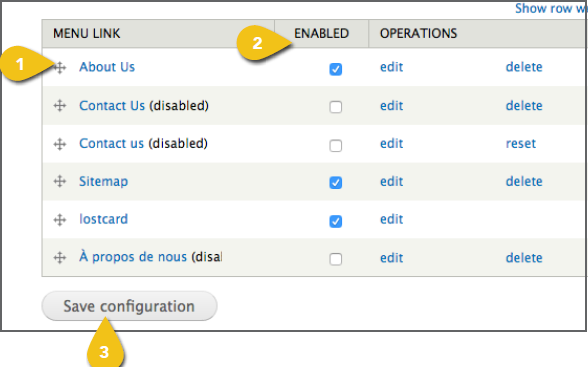
Changing The Order Of Footer Links While on the List Links tab, you can also 1. Select the four arrows symbol at the left of any entry to move it into a new position. • Sub-pages will automatically be • Move the symbol to the left to raise it in the hierarchy, or to the right to make it a child of the page above. 2. At the far right of each item, you can deselect Enable to remove a link from view, Delete a link or Edit the link text, destination and other settings 3. When finished, scroll to the bottom of the |
 |